Orelis has seven places in the menu: Today, Chats with Orelis, AI receptionist, Patients, Schedule, Money and Settings. These guides follow the same order. Pick a section from the sidebar, or read top to bottom to learn the whole product.
Getting started
Clinics start with a demo. Request one on the demo page, and we walk you through Orelis on a 30-minute video call and set up your clinic with you.
1
After the call we create your clinic and your account. You get an email titled Your Orelis account is ready with a link to set your password. The link works for 7 days.
2
Open the link, choose a password of at least 8 characters and click Update password. Then sign in with your email and that password.
3
The first time you open Today, a short tour shows you around. You can replay it from your avatar menu with Restart tour.
4
Your clinic starts on a 7-day free trial. Standard has everything except AI; Pro adds Orelis, the AI receptionist and every AI feature. Guides marked (Pro) need Pro.
5
Forgot your password? Click Forgot password? on the sign-in screen and we email you a reset link that works for 60 minutes.
Set your clinic up once in Settings: Practice details (time zone, currency, language, tooth numbering), Procedures and prices and Team. Everything else uses them.
Today
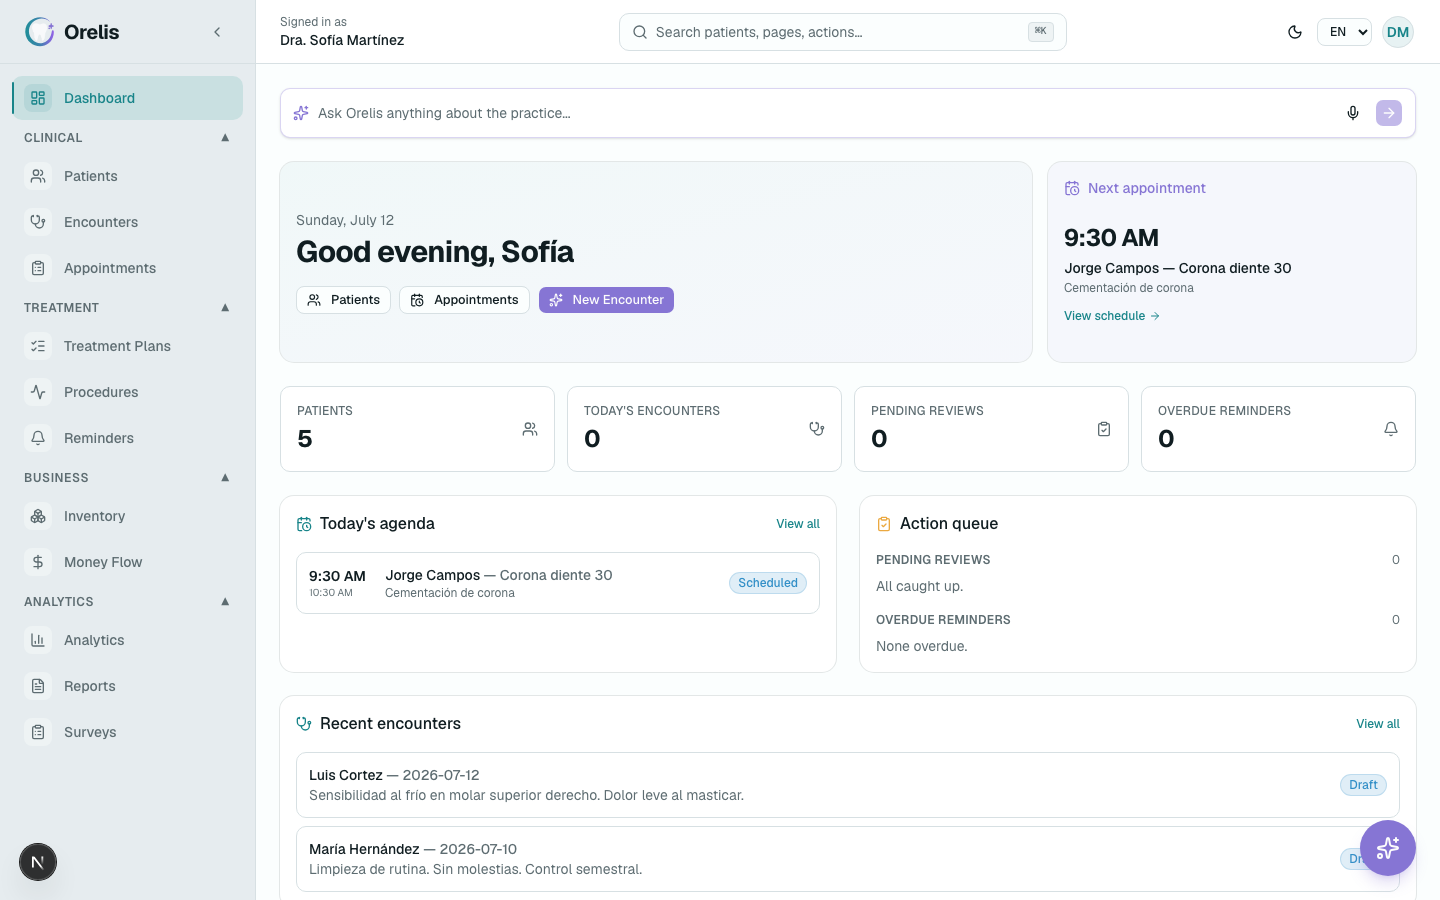
Today is the first page after you sign in. It tells you where the clinic stands and shows only what needs a decision.
1
At the top, Orelis writes a short brief of the day: visits left, tomorrow, unpaid invoices, supplies below their minimum and anything waiting for your approval.
2
Under What do you want done?, type or say a request in Spanish or English, or tap a suggestion. Orelis answers right there. Continue in chat moves the conversation to Chats with Orelis. (Pro)
3
Four tiles show Chairs, Waiting room, Money today against the usual range for that weekday, and Supplies at risk. Chairs opens The clinic today: one lane per dentist on the clinic's clock, each visit marked booked, waiting, in chair, checkout, done, no-show or not marked. Click a visit to see the patient's allergies, balance and treatment, and to mark them arrived or start the visit.
4
Needs you lists what Orelis prepared or noticed: a reminder to send, a finished visit to check, an order for a supplier, a slot to offer to the waitlist. Approve carries it out; Not now turns it down. Suggestions that only point somewhere have a bell to hide them for a week.
5
Handled while you worked lists what Orelis did on its own in the last 24 hours, each with Undo, and messages about to go out with Cancel.
Today: the brief, the ask box, live tiles and what needs you.
Chats with Orelis
Orelis is the assistant inside the app. Ask it about patients, the schedule or money, or ask it to do something. Anything that changes a record waits for your approval. (Pro)
1
Open Chats with Orelis for your saved conversations, or click Orelis in the header to open it next to the page you are on. Click New chat to start over.
2
When Orelis wants to change something, such as booking a visit or recording a payment, it shows the proposed change. Open Show details to read it, then Approve, Edit or Reject. With several changes, use Approve all or Discard all.
3
Click the microphone to talk instead of typing. Orelis answers out loud, and on a visit it can chart findings or draft the note for you to approve. With Hands-free approvals on, you confirm changes by voice.
4
In Settings → Orelis in your WhatsApp, link your own phone: type your number, press Get my code and send ORELIS plus the code to the clinic's line within 15 minutes. Then you can write or send voice notes to Orelis from WhatsApp, and approve with a button.
AI receptionist (Pro)
The AI receptionist answers your patients on the clinic's WhatsApp: it books, moves and cancels visits within your hours and answers questions from what you tell it about the clinic.
1
In Settings → AI receptionist, click Connect with Facebook to connect the clinic's WhatsApp number. You can keep using the WhatsApp Business app on the same number.
2
Set your Business hours (with a lunch break if you take one) and Closed dates for holidays. The receptionist only offers times that fit.
3
Fill in Clinic knowledge: services, location and parking, payments and insurance, frequent questions and emergency instructions, or use Import from document. The receptionist answers only from this, gives no clinical advice and sends anything else to the office phone.
4
Every conversation appears under AI receptionist → Conversations. If someone from the clinic replies from the WhatsApp Business app, the receptionist steps back from that chat for a few hours. Send #ia in the chat, or click Hand back to Orelis, to return it sooner.
5
In Settings → Patient messages, choose what Orelis sends on its own: visit reminders, same-day confirmations, cleaning invitations and balance reminders. Each one can be off, ask you first, or send on its own, with quiet hours and a daily maximum. Messages only go to patients who agreed to receive them; a patient can reply STOP at any time. What was sent, and what is waiting for a yes, is under Sent by Orelis.
6
Patients who want an earlier time go on the Waitlist. When a visit frees up, Orelis can offer the slot to them on WhatsApp after you approve.
Patients
Every patient has one profile with their visits, chart, photos, consents, treatment plans and balance.
1
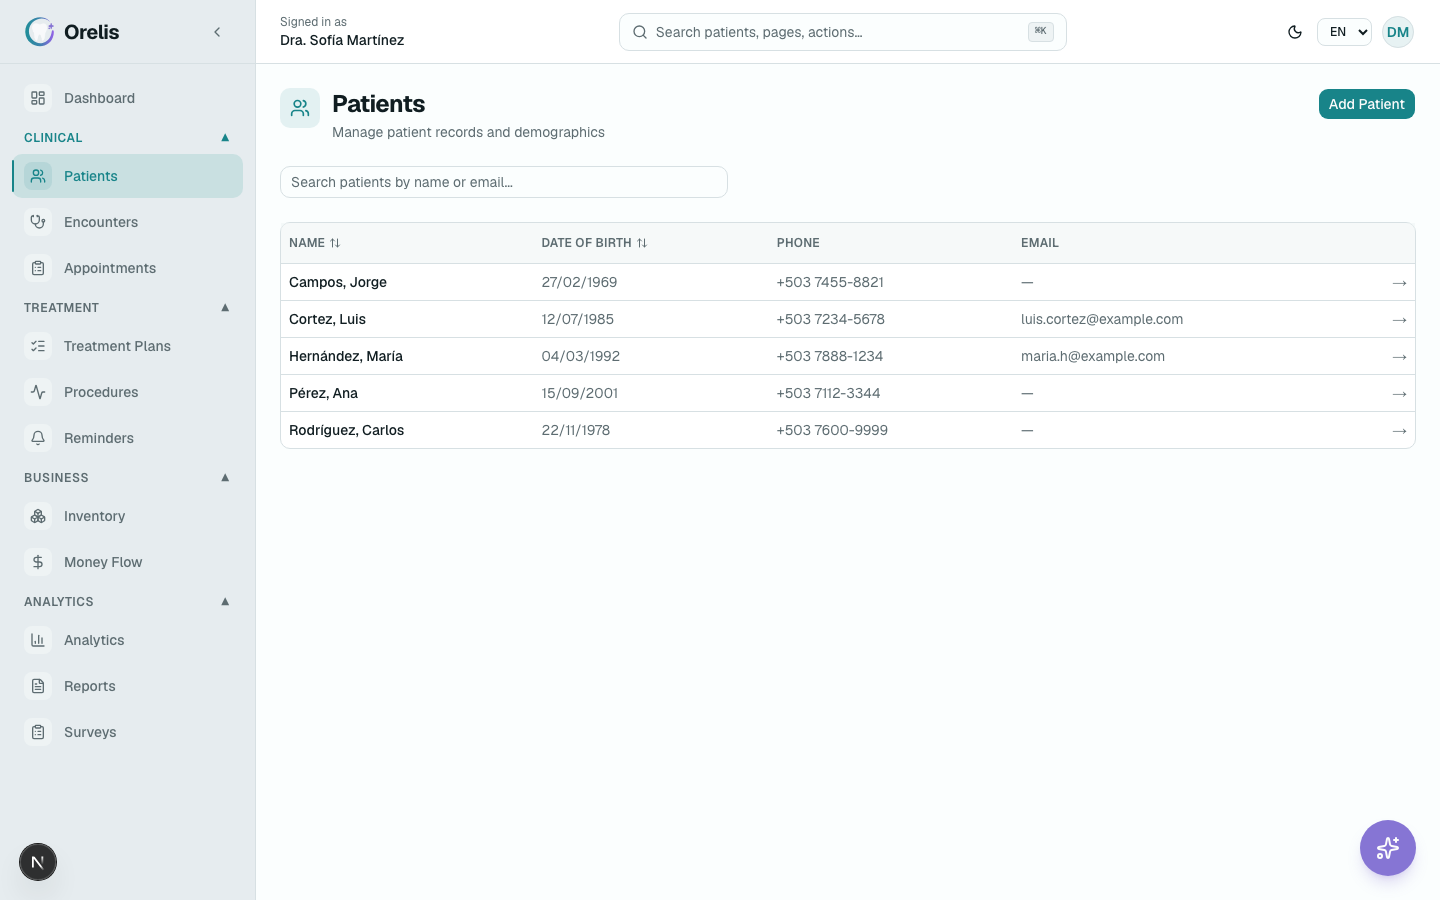
Open Patients. Search by name or email; each row shows age, phone, the next or last visit, what they owe and an Allergies tag when allergies are recorded.
2
Click Add Patient. First name, last name and date of birth are required; gender, phone and email are optional. Add allergies and medications afterwards in the profile.
3
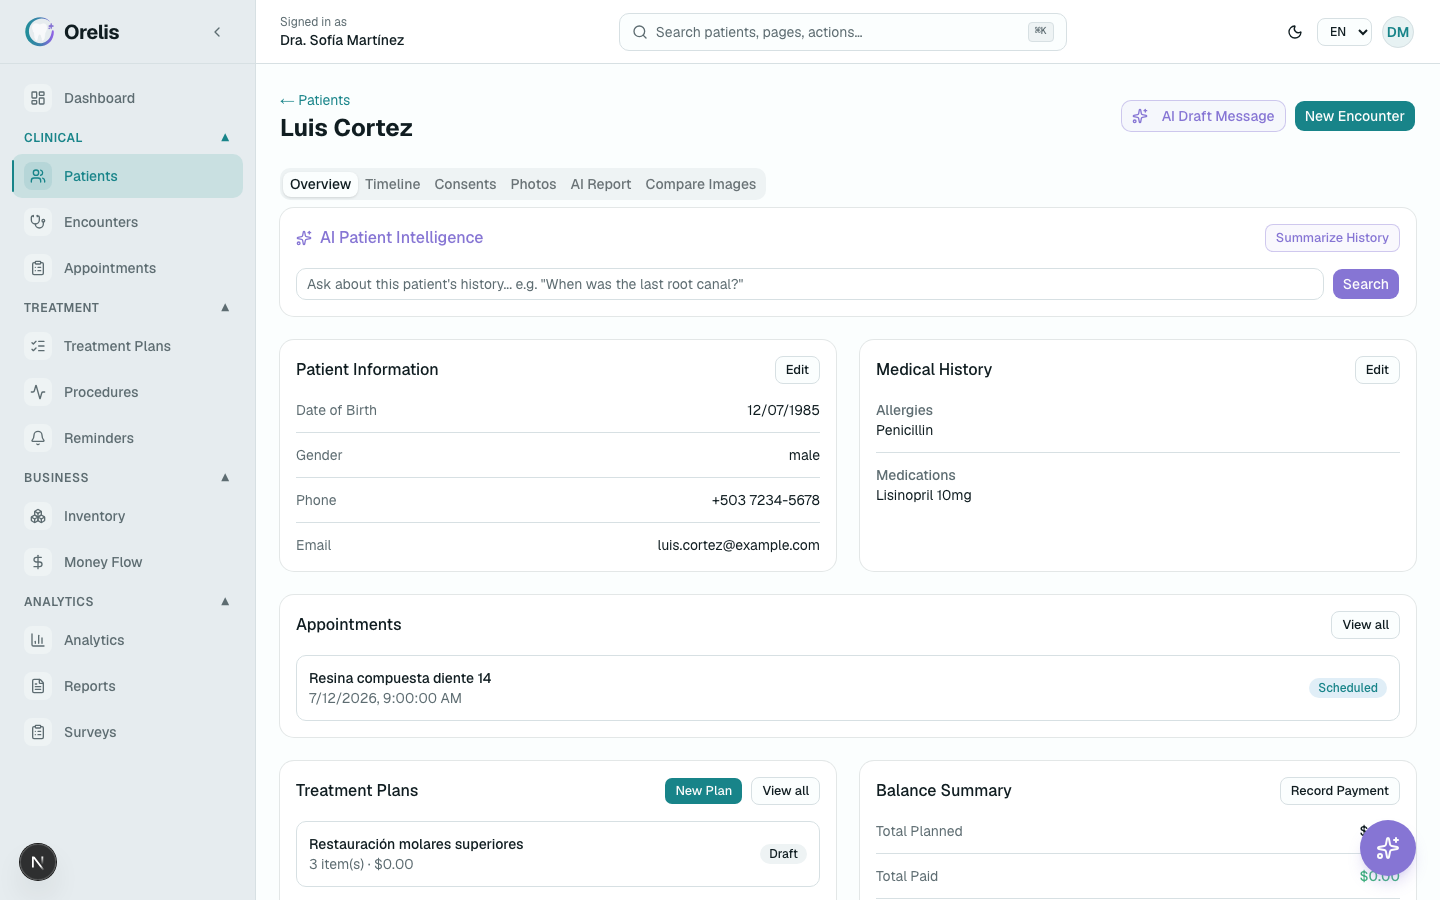
The profile opens on Overview: next visit, money, treatment and last visit, then upcoming visits, visit history and plans. Allergies show in a red bar at the top. Edit contact and medical details under Details.
4
The other tabs: Chart (every visit's findings on one chart, with each tooth's history), Timeline, Photos (extraoral and intraoral, by phase, with before and after comparison) and Consents (upload a signed one, or generate one and have the patient sign on screen).
5
Archive, at the bottom of Details, takes a patient out of lists, search and the AI receptionist while keeping their history. Restore brings them back.
6
The Follow-ups tab lists clinical, payment and check-up follow-ups by due date, overdue first. Create one with New follow-up.
Patient list with search, allergy tags and what each patient owes.Patient profile with the allergy banner, the overview tiles and the visit history.
Visits & chart
A visit holds the chart, the notes, the procedures and the images of one appointment.
1
From the patient's profile, click New visit and, if you like, write the chief complaint. You can also start it from the clinic view or when you complete an appointment.
2
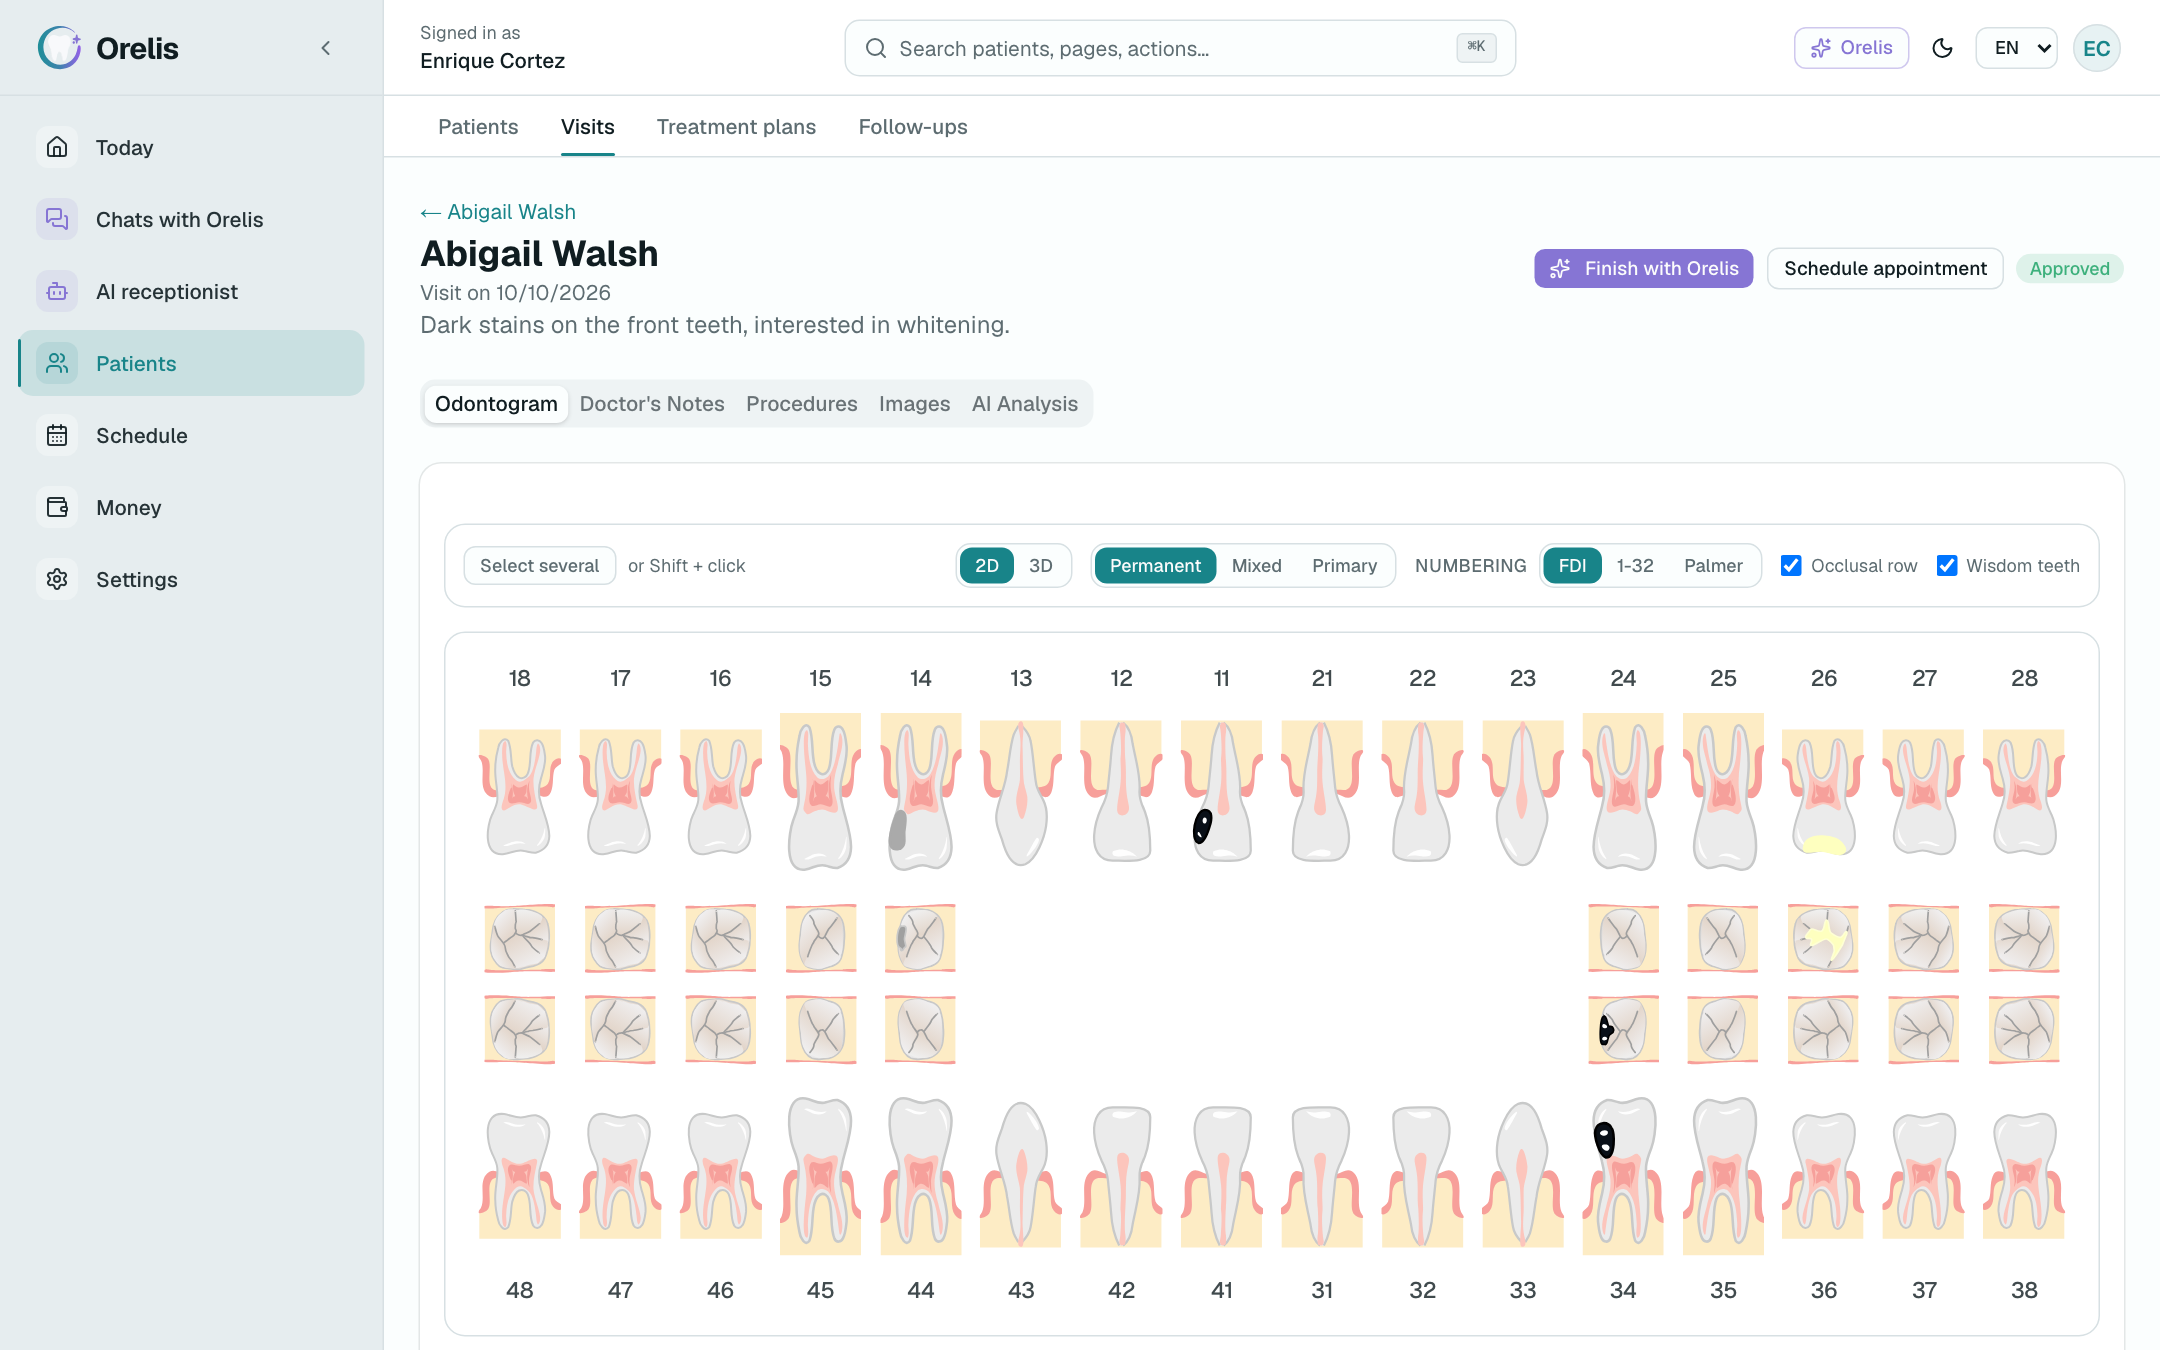
The visit opens on Odontogram. Choose Permanent, Mixed or Primary teeth (saved on the patient) and the numbering: FDI, 1-32 or Palmer. 3D shows the same findings on real tooth models.
3
Click a tooth, or several with Shift or Select several, and set what you see in the tooth details: base, crown, caries by surface, fillings, root, periodontium and mobility. Changes save on their own and appear in the findings list under the chart.
4
Removing a finding recorded in an earlier visit marks it resolved, so the history stays. Changing the chart after the visit was signed marks it Changed after signing until you click Sign again.
5
Record what you did under Procedures, and upload X-rays and photos under Images (bitewing, panoramic, periapical, intraoral). Schedule appointment books the next visit without leaving the page.
The odontogram with FDI numbering, the dentition switch and findings on several teeth.
Clinical notes & AI
Write the note yourself, let Orelis draft it, or both. Nothing AI-written goes into the record until you approve it.
1
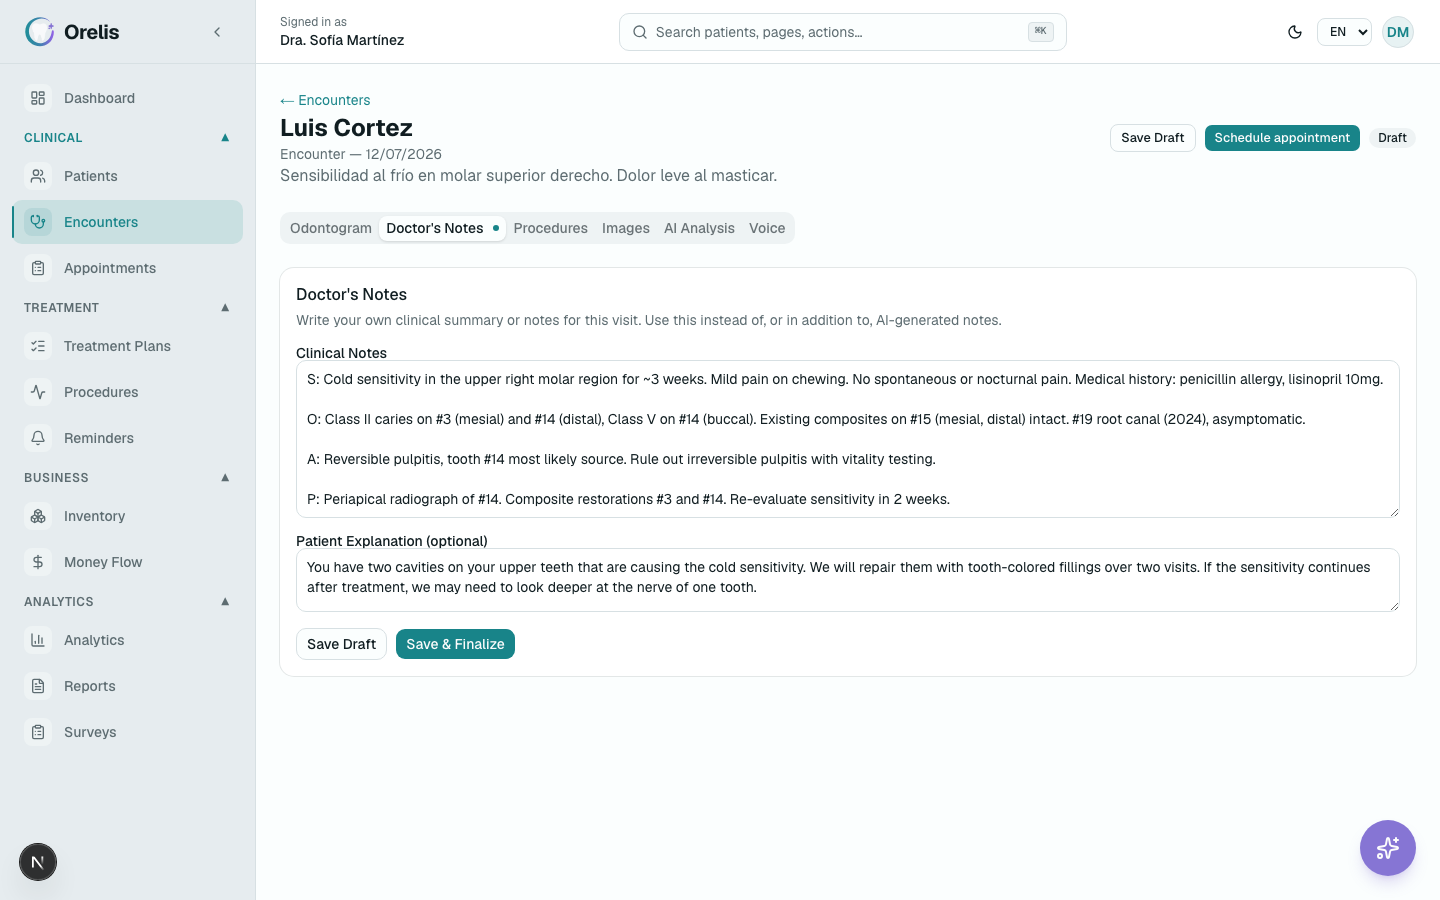
In Doctor's Notes, write the clinical note and, optionally, a plain-language explanation for the patient. Save Draft keeps it; Save & Finalize signs it with your name.
2
When Orelis drafts a note, from the after-visit drafts or because you asked in chat, the visit waits for review. The review page shows the AI draft next to Your Version (Editable). Edit it and click Approve Clinical Note, or Discard & Regenerate with guidance.
3
On the same page, Generate Patient Explanation writes a version the patient can understand, which you approve the same way.
4
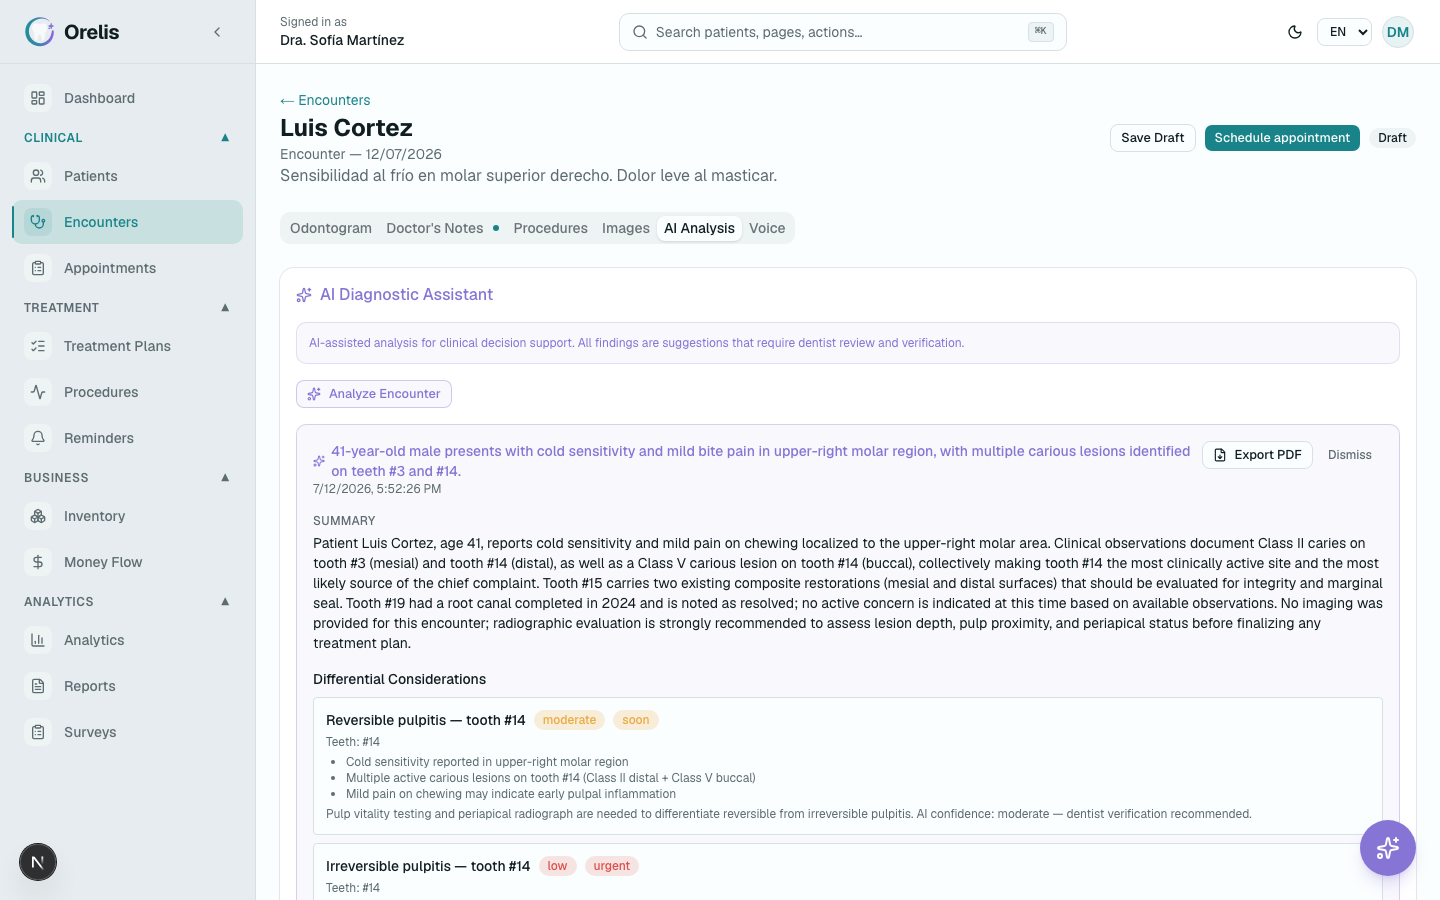
The AI Analysis tab gives a second opinion. Click Analyze Visit once the visit has a finding or an image. The report covers a summary, findings by image, differential considerations, treatment phases, referrals, patient education and follow-up. Export PDF shares it.
Reviewing an AI-drafted clinical note next to your editable version.AI Analysis tab with the diagnostic assistant and the Analyze Visit button.
AI output is a draft for the dentist. It is never saved to the chart or the note by itself.
After-visit drafts (Pro)
When a visit ends, Orelis writes up the paperwork so you only check it.
1
Drafts are prepared when the appointment is completed or the note is signed, or when you click Finish with Orelis on the visit. A Check and approve card appears in Needs you.
2
The drafts can include the visit Note, Chart changes, Supplies used, the Charge, the Next visit of the treatment plan and a Message for the patient. Each says where it came from and what approving changes.
3
Approve each one, Change it first, or Not now. Approve all does the rest at once. Charges start as owed (an invoice) unless you switch them to Paid now.
4
An allergy check at the top says whether anything used or mentioned conflicts with the patient's recorded allergies.
Schedule
Book visits, see each one on the dentist's day before saving, and move them through the day.
1
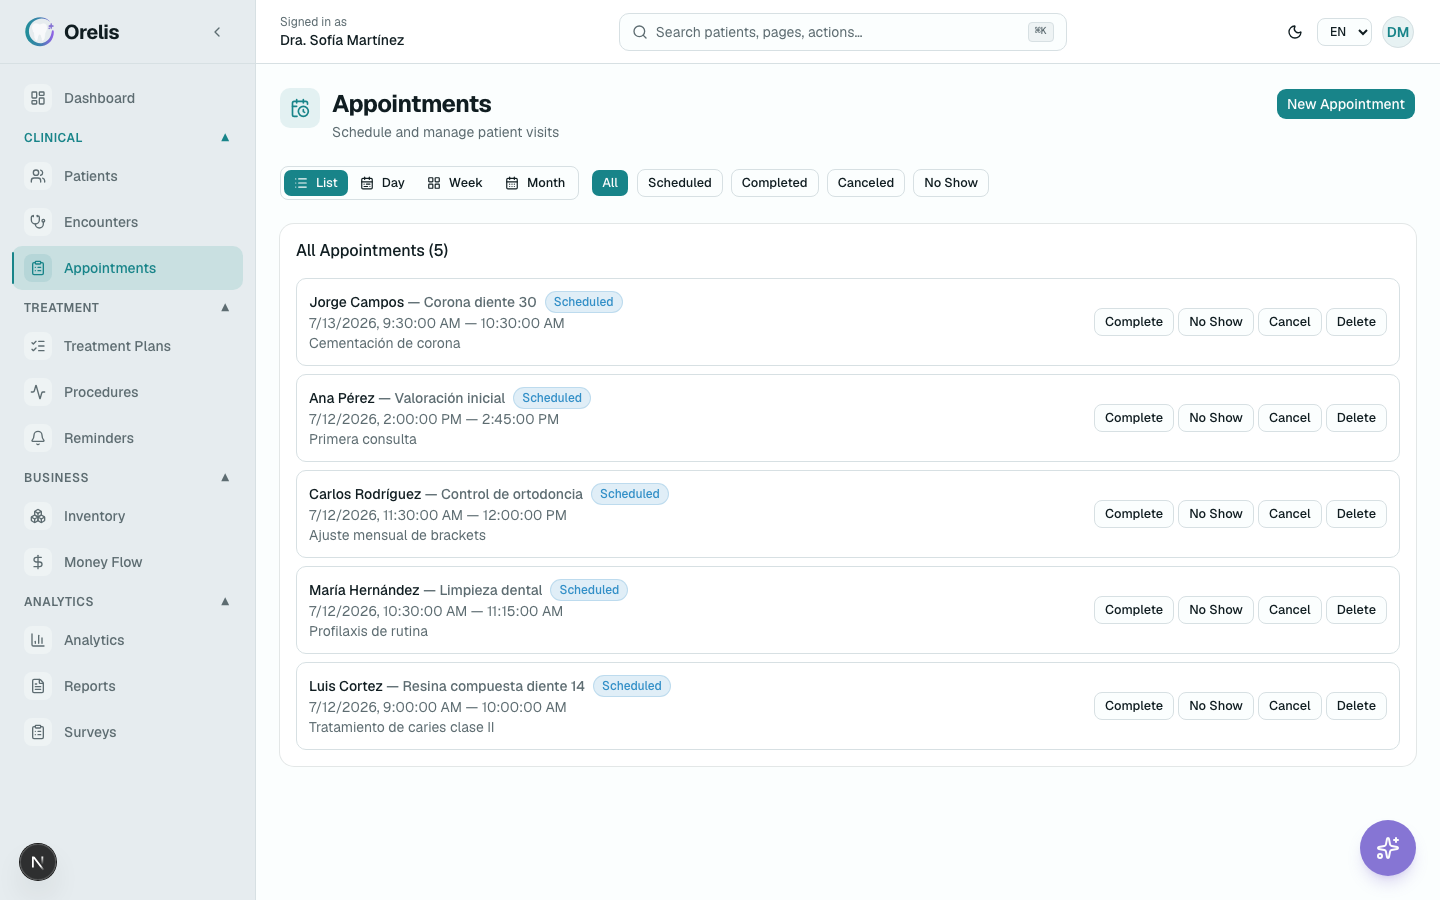
Open Schedule. Agenda lists upcoming or past visits by day; Day, Week and Month are calendars. In Day, click an empty time to book it.
2
Click New Appointment, pick the patient, a title and the times. The preview draws the visit on the dentist's day with open hours, lunch and other bookings, says whether it fits and offers free times nearby.
3
Overlapping visits for the same dentist can't be saved. Times outside open hours ask you to confirm with Book anyway.
4
Each visit has one main button that follows where it stands: Mark arrived, Start visit, Complete. No-show, cancel and delete are in the menu and ask first. A visit can't be completed or marked no-show before it starts unless the patient checked in.
The schedule's agenda: today, tomorrow and the days ahead, with Mark arrived on each visit.
Treatment plans
Group the procedures a patient needs under one plan, see what is done and owed, and try a payment schedule.
1
Under Patients → Treatment plans, click New treatment plan, pick the patient and give it a title.
2
Add steps with Add Item. Picking one from the procedure catalog fills in the name and price; set the tooth and priority. While a step has no price, the total reads as a minimum.
3
The tiles show progress, money left, the plan's status and the next visit. Book visit on a step opens the appointment form already filled in.
4
Under Try a payment schedule, pick 1 to 12 monthly payments to see the amounts and dates; nothing is saved until you record a payment. Compare with puts another plan for the same patient side by side.
Invoices & payments
Bill patients, record what they pay and see what is still owed.
1
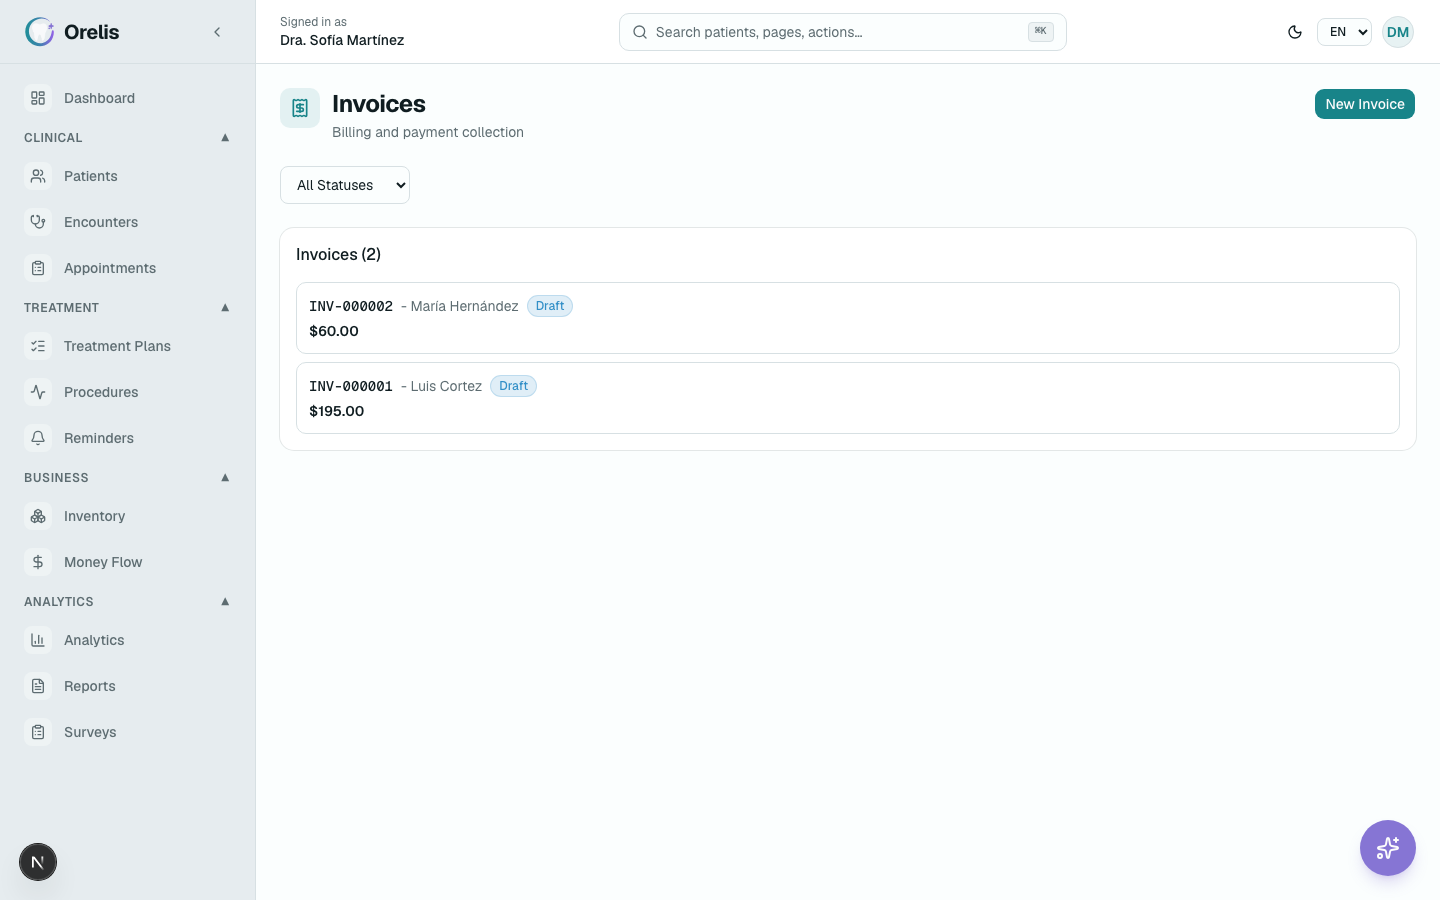
Under Money → Invoices, click New invoice, pick the patient, set the dates and tax rate and enter the line item. The invoice starts as a draft.
2
Click an invoice to open it, then Issue Invoice when it is ready.
3
Record payment takes the amount (up to the balance) and the method. The invoice becomes Partially Paid or Paid on its own. Past their due date, unpaid invoices are tagged Overdue.
4
Void cancels an unpaid invoice and keeps it on record; Print prints it.
Invoice detail with line items, the balance due and the Record payment button.
Money & numbers
What came in, what went out and who owes the clinic.
1
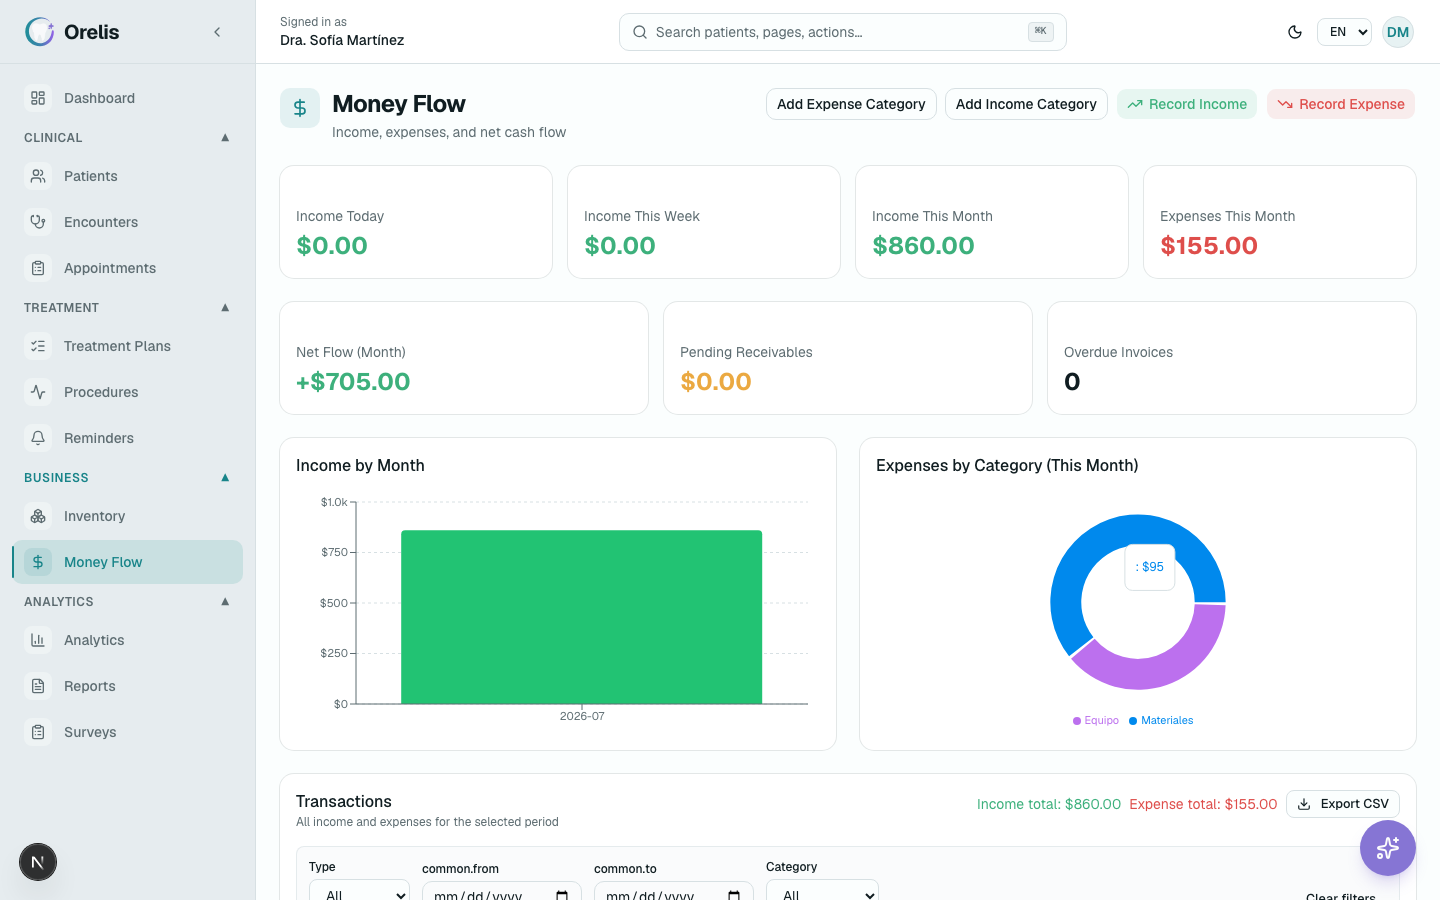
Money → Overview shows what came in today, this week and this month, what is owed, how many invoices are overdue and the month's net.
2
Owed to the clinic splits the balance by how late it is and lists the late invoices, oldest first. Draft reminder asks Orelis to write a friendly reminder, which you see before anything is sent.
3
Record income and Record expense add money that isn't a patient payment. Transactions lists every movement with filters and CSV export.
4
Numbers charts revenue and visits by month or day, the most requested procedures, what each dentist charged, your best patients and high-value patients who haven't come back in 9 months. Filter by period and dentist.
Money overview: what came in, what is owed by age and who is late.
Reports
Pull a report for any period and export it.
1
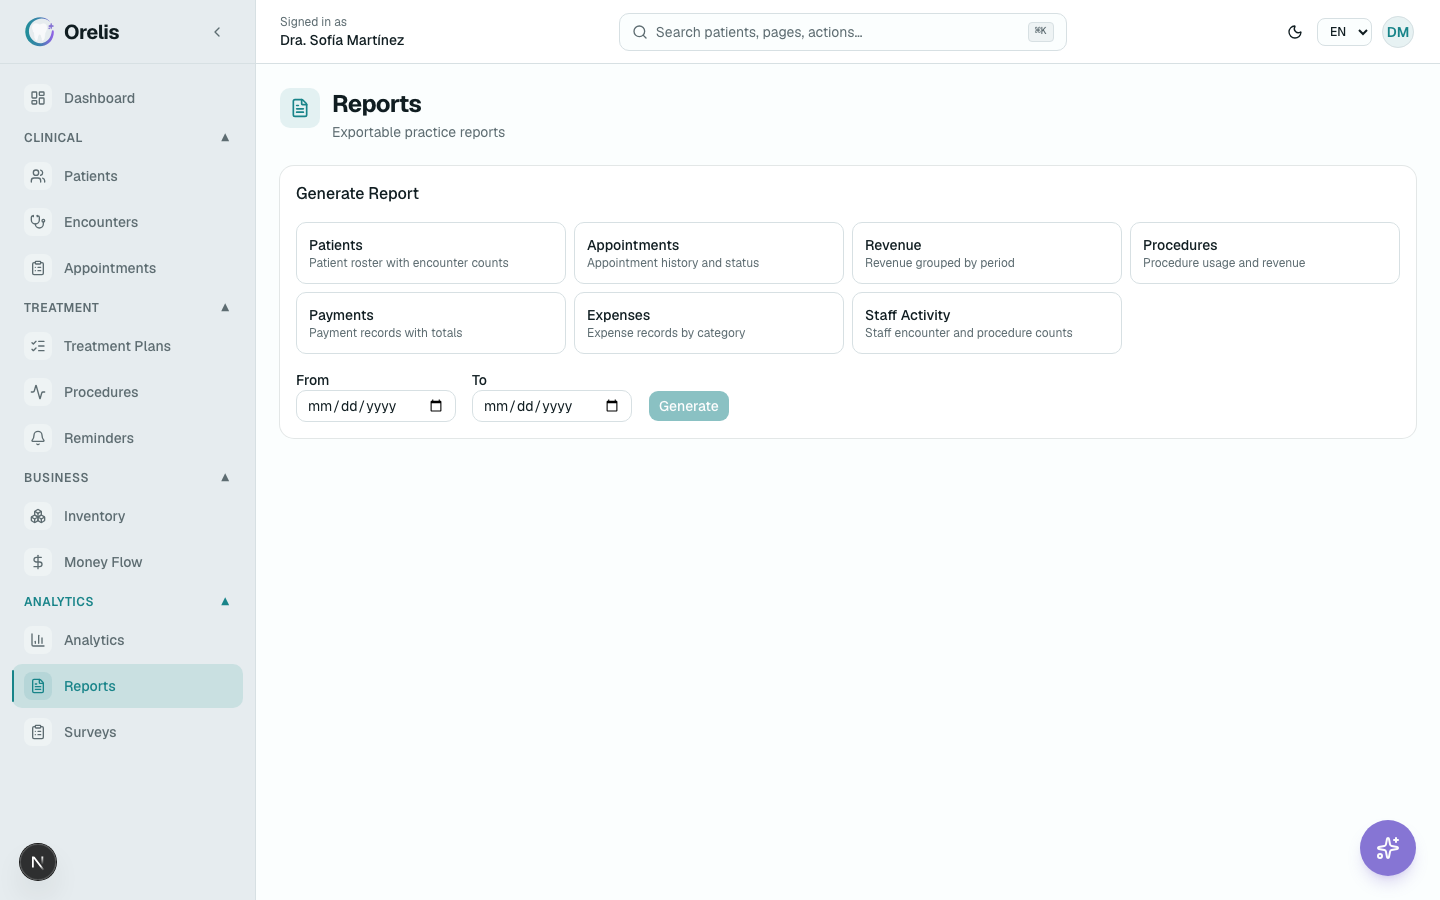
Under Money → Reports, pick a report: patients, appointments, revenue, procedures, payments, expenses or staff activity.
2
Set the dates, or leave them empty for all dates, and click Generate.
3
Export saves it as CSV or PDF, or prints it. On Pro, Export AI PDF adds a page with a summary, highlights, concerns and recommendations.
Reports with the revenue report by month and the Export buttons.
Supplies & orders
Track supplies, see what runs out before it does, and order from your suppliers on WhatsApp.
1
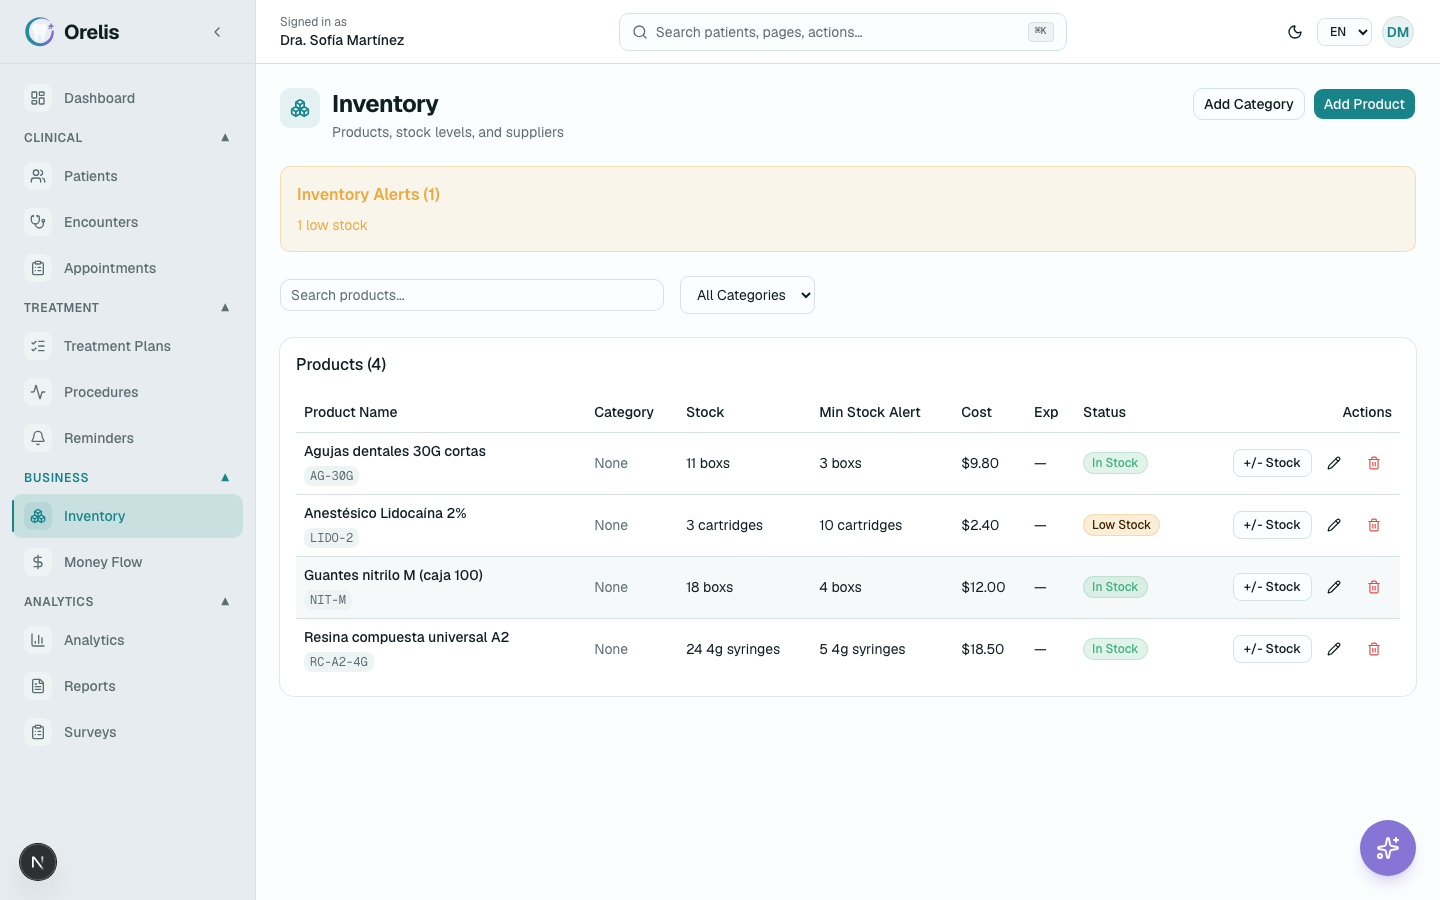
Open Settings → Supplies. Add supply takes the name, unit, cost, supplier, stock and the minimum that should trigger an alert.
2
Running low lists supplies below their minimum, out of stock, expiring within 30 days or expected to run out soon, with how much to reorder. The forecast comes from the last 8 weeks of use.
3
Record purchases and use with Adjust stock on each supply. In Procedures and prices, set the supplies a procedure uses, and Orelis offers to record them when the procedure is charted.
4
Under Suppliers, add a supplier with their WhatsApp number and tick Accepts orders by WhatsApp. When their supplies run low, Orelis prepares the order in Needs you. Approving sends it from the clinic's WhatsApp, and their reply arrives under AI receptionist → Suppliers. Orders never go out without your approval.
Supplies with the running-low list and what is expected to run out in the next 7 days.
Surveys
Ask patients how their visit went.
1
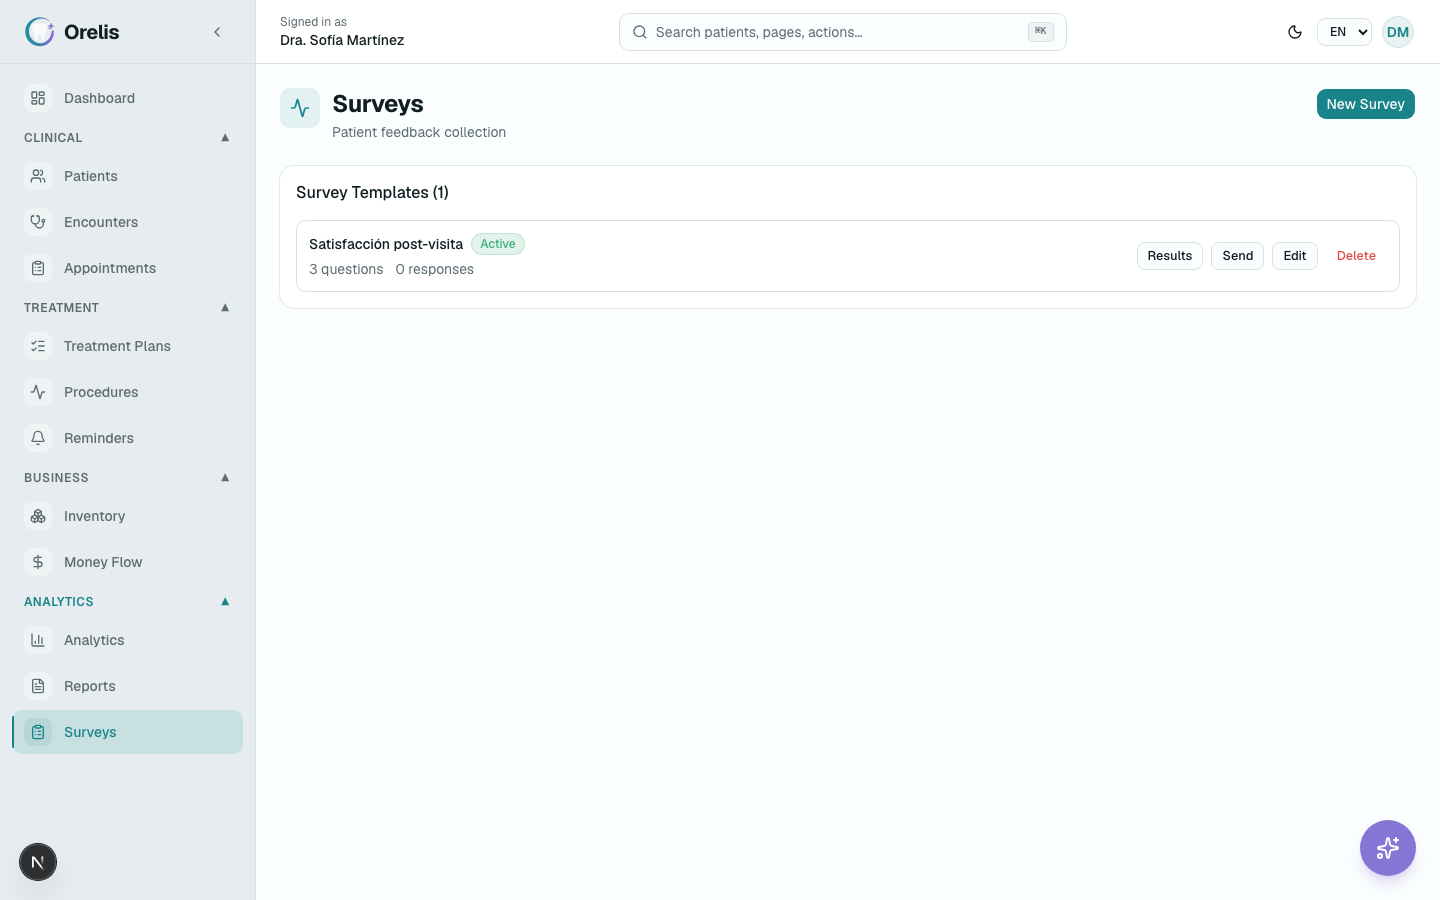
In Settings → Patient surveys, click New survey and add questions: rating from 1 to 5, free text, yes or no, or multiple choice.
2
Click Send, pick the patient and click Generate share link. The link is copied for you to paste into WhatsApp or email; the patient answers without signing in. Links expire after 30 days.
3
Results, in the row menu, shows the responses, the average rating and the invitations sent.
Patient surveys with response counts, the average score and Send.
Team & roles
Add the people who work at the clinic. There are three roles: dentist, assistant and administrator.
1
In Settings → Team (administrators only), click Add team member. Enter the full name, email, a starting password of at least 8 characters and the role, and share the password with them.
2
Use Edit in a person's menu to change their name or role.
3
Deactivate removes their access at once; their records stay attached for the audit log.
What Orelis does alone (Pro)
You decide what Orelis may do without asking, one kind of action at a time.
1
Open Settings → What Orelis does alone. Each kind of action has a level: Off, Only tell me, Ask me first or Do it alone, tell me after.
2
After 10 approvals in a row without changes, Orelis asks once whether it may do that kind alone. An Undo sends it back to asking.
3
Clinical records and money always ask first.
4
About your clinic lists what Orelis learned about how you work. It uses something only after you confirm it, and Forget removes it.
Subscription
Your plan, your payments and, on Pro, how much AI the clinic used this cycle.
1
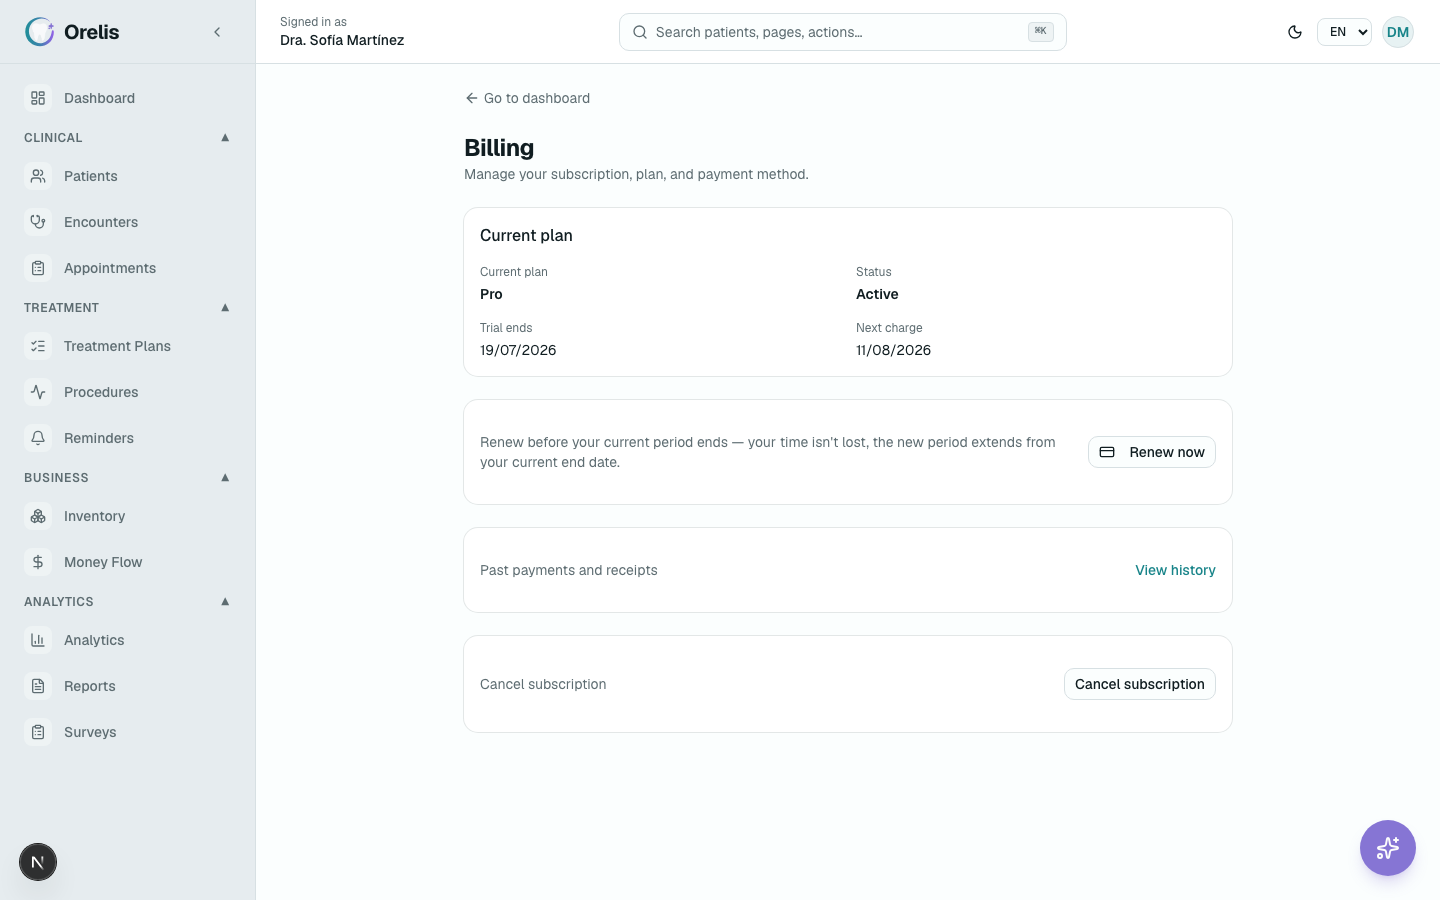
Open Settings → Subscription. It shows your plan, its status and the next charge or the end of your trial.
2
To subscribe, pick the plan and monthly or yearly (yearly has a discount), then click Subscribe. You pay on Wompi's secure page and come back here; the status turns Active within seconds.
3
On Pro, AI usage this billing cycle shows the AI tokens and voice minutes used and when they reset.
4
Renew now pays the next period early without losing days. View history lists past payments. Cancel subscription keeps your access until the period ends; for yearly plans we review a prorated refund.
Subscription page with the current plan, AI usage this billing cycle and renewal.
You are never charged automatically. Before each period ends we email you a reminder, and you click Renew now to pay. If you don't, access ends after a short grace period.